Sunday, April 27, 2014

Are you an alder or a birch?

We were hiking in Curt Gowdy State Park a few weeks ago when we met two leafless trees standing by a creek.  “Are you an alder or a birch?” I asked the first (above).  There was no reply.  I posed the same question of the second (below), with the same result.  Both stood silently except for an occasional whisper of branchlets in the wind.
It was a valid question.  Alders and birches are both in the birch family (Betulaceae).  You might say they’re cousins -- different genera, with alders in the genus Alnus and birches in Betula.  They’re enough alike to be confusing, especially when they don’t have leaves.  I was pretty sure one of these trees was an alder and the other a birch, and I was hoping there was an easy way to tell them apart this time of year.  I looked into it when I got home and found it’s not as simple as I had hoped.  But it’s not that hard either.

Both alders and birches are said to have smooth bark, but this is a little misleading.  I think the authorities mean they don’t have furrowed bark.  Many species of alder and birch have prominent lenticels -- prominent enough that the bark isn’t all that smooth.
Lenticels are pores allowing gas exchange through bark.  This is Tree #2.
Alders and birches both have separate male and female catkins (flower clusters), with the two sexes on the same tree (monoecious).  Fortunately their female catkins differ, and therein lies a way to tell the cousins apart.

Tree #1 was dominated by male catkins ... the guys were in full bloom!
If you look close, you can see small reddish female catkins near the top of the male ones (click on image below).
Most useful to us were the old female catkins from last year, persisting as woody cones. They revealed the identity of Tree #1 -- it's an alder.  [These aren’t true cones, found on conifers, but we’ll call them that anyway.]
Darker woody "cones" are last year's female catkins.
Tree #2 had lots of catkins as well.  The male ones were immature -- still hadn’t opened.
Young male catkins, roughly an inch long.
High on the tree were scattered female catkins from last year.  Their papery bracts gave them away.  These are birch cones.  They’ll soon fall apart and be gone.
Tree #2 is a birch, with pendulous papery-bracted female "cones" (click on image to view).
In the field I used my Rocky Mountain Tree Finder to key out the two trees.  They are the mountain or thin-leaved alder (Alnus incana var. tenuifolia), and the water birch (Betula occidentalis).  Both are fairly common along streams in Wyoming.
Mountain alder (Tree #1); courtesy Zelimir Borzan, University Zagreb, Bugwood.org
Mountain alder is sometimes called speckled alder, I suspect for the prominent lenticels.
Water birch (Tree #2) in its prime, with mature female catkins.  UFEI, Cal Poly San Luis Obispo
The bark of water birch sometimes is a pretty red, contrasting nicely with the lenticels.
At the base of the water birch we found an old leaf.  It helped with identification.

--- ✿ ✿ ✿ ✿ ✿ ✿ ✿ ---

These trees became the first observations in the newly-launched iNaturalist project Plants of the Southern Laramie Mountains.

Thursday, April 24, 2014

How aspen use green ... or do they?

Our aspen are starting to flower but are still leafless.  Doesn’t matter, they can photosynthesize anyway.
New Under the Sun is hosting April’s Berry-Go-Round; the theme is plant color:
“You can talk about your favorite colors, unusual colors, pigment biosynthesis, how plants use color, how humans have painted new colors onto our favorite plants, color patterns, temporal color changes etc.”
This time of year, “plant color” makes me think of the bright flashes that start appearing in the drab brown-and-gray landscapes that have been with us all winter -- yellow sagebrush buttercups and purple pasque flowers and fresh green leaves popping from buds.  But even though Spring technically arrived over a month ago, it’s still late winter here.  There are occasional wildflowers -- a few brave individuals blooming -- but most are waiting. Trees are still leafless.  However, if you walk through aspen, a bit of green might catch your eye.
Quaking aspen, Populus tremuloides.  Notice it’s greener on the south side.
Some aspen trees have green bark.  It’s more obvious in younger ones.  In 1957, L.C. Pearson and D.B. Lawrence were living in Minnesota where green-barked aspen are common.  They looked at cross-sections of bark under a microscope and found that the green color was localized in plastids (compartments within cells).  This was intriguing, as others had suggested it was due to a parasitic fungus.  They realized that these were just regular plastids, not some abnormal growth.
A bright green layer visible through the very thin (0.2 mm) outer layer of bark.
They decided to investigate further.  They periodically collected bark and leaves from the north and south sides of aspen trees, extracted the green pigment, and analyzed it.  Absorption spectra for pigment from both bark and leaves matched that of chlorophyll, used by plants to photosynthesize and convert sunshine to food.  They also were able to show that the green pigment in the bark was photosynthetically active.
Absorption spectra of pigments in aspen dissolved in ether.  Data of August 3.  Chlorophyll a measured at 6600 A [peak on right].  From Pearson and Lawrence 1958; PDF available here.
Chlorophyll levels in bark were highest when leaves were just starting to appear, and then dropped off, suggesting green bark is a way to get a head start on the growing season.  Maybe this is why deciduous aspen can thrive where growing seasons are short ... where most other trees are evergreen conifers.
The bark is paler green in shady situations.
Before you go, let’s clarify one thing.  Contrary to what was suggested in the title, aspen don’t “use” green.  In fact most plants don’t -- they throw it away.  Chlorophyll is green because it reflects green light.  It absorbs red and blue for photosynthesis.  Here’s another spectrograph, this one in color so you can better see what colors plants use -- not green.
“Absorbance spectra of free chlorophyll a (blue) and b (red) in a solvent.”  Source

Saturday, April 19, 2014

I can only beg ... suspend judgment until the whole case shall have been presented

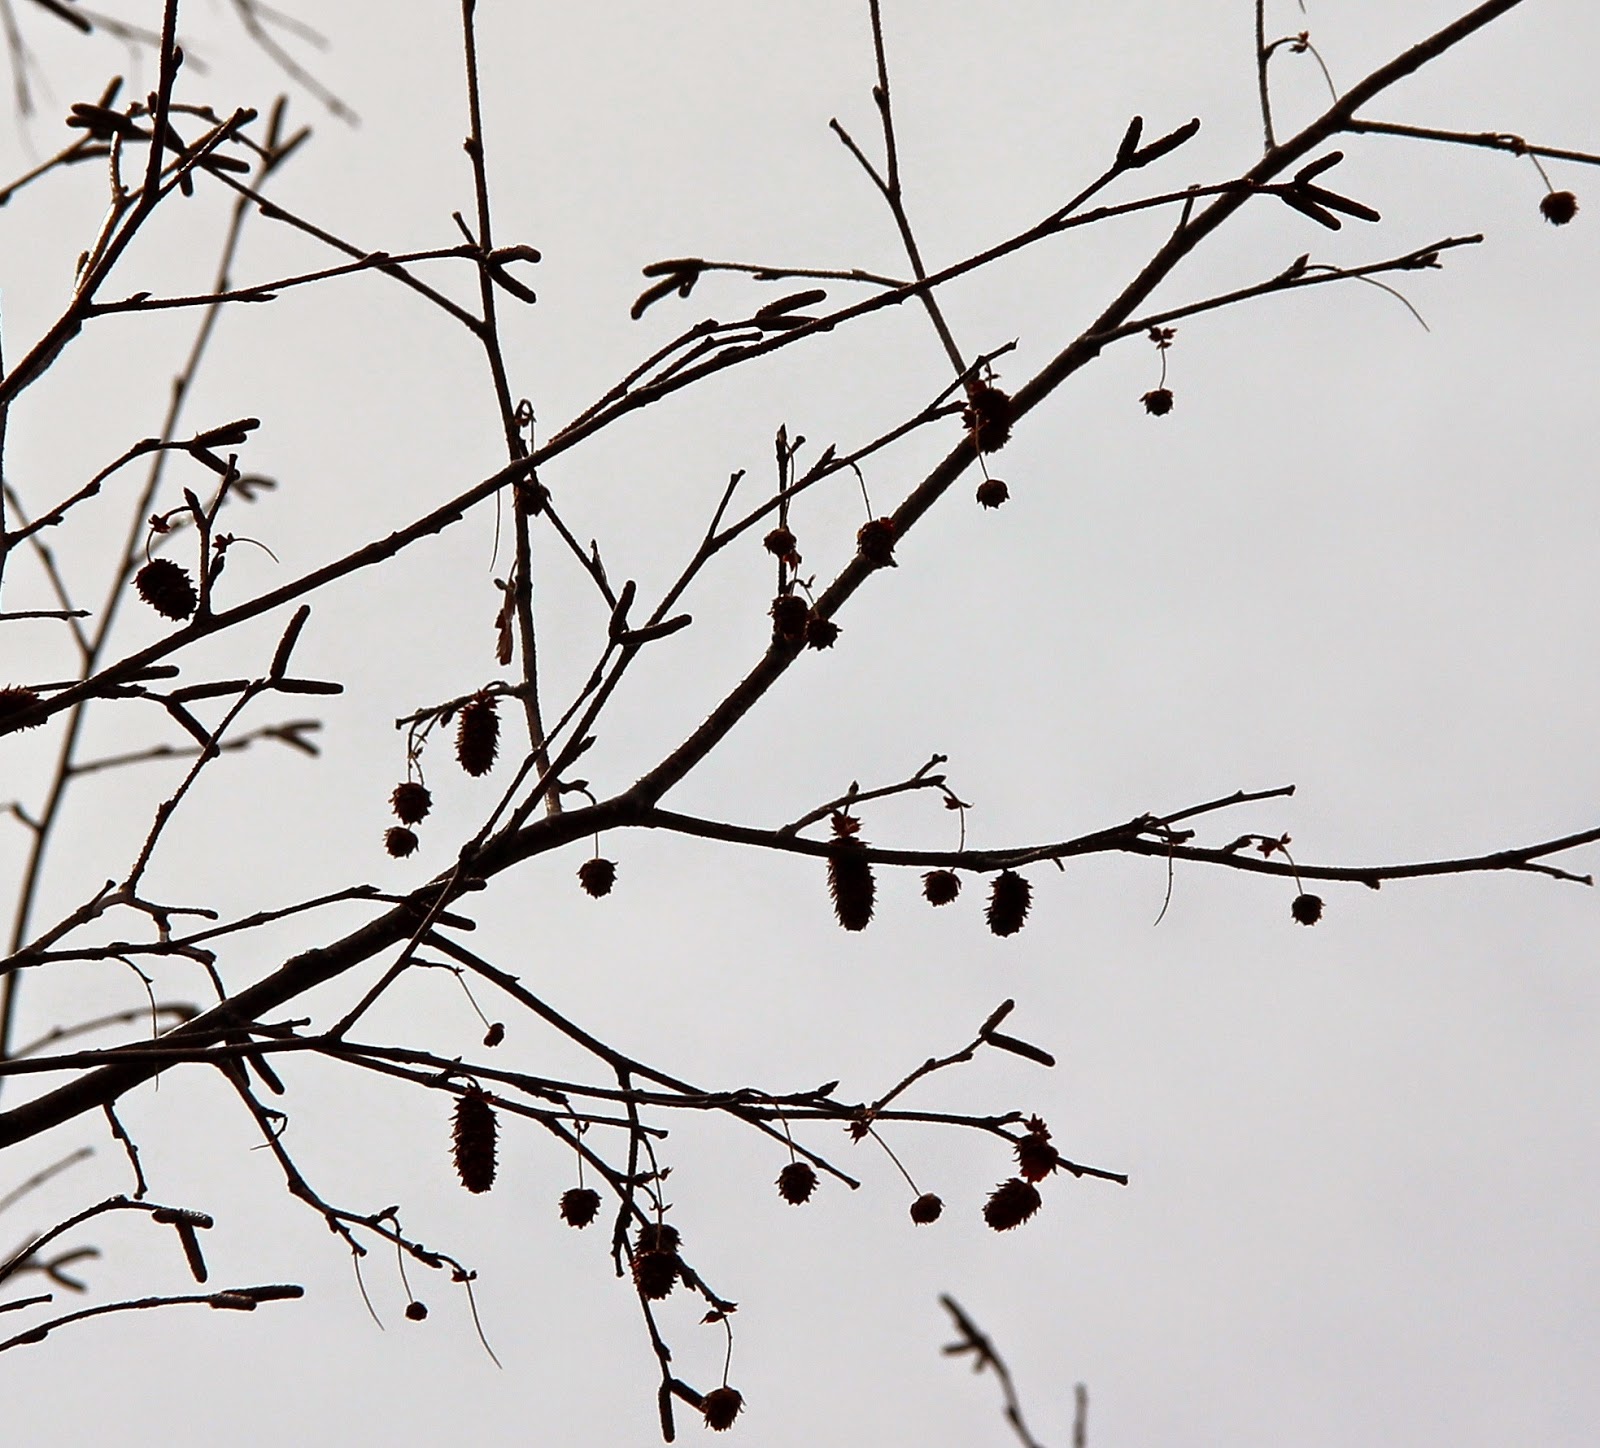
“Hillers trachyte is a pale gray paste with large white crystals of feldspar and crystals large and small of hornblende.  This describes the variety at hand.”
This is one of the least eye-catching rocks in my kitchen.  No one picks it up, ponders it, asks questions.  Yet it’s special for me ... and for the history of geology.  I found it one morning on the picnic table at my campsite, on top of yellowed sheets of paper with notes and sketches.  They were not there the evening before.

I brewed a cup of coffee and sat down to read the mysterious missive.  This is what I found [notes in italics are mine]:
The Henry Mountains are not a range, and have no trend; they are simply a group of five individual mountains, separated by low passes and arranged without discernible system. [here there was an arrow to the diagram above] ... they stand on the right bank of the Colorado River of the West, and between its tributaries, the Fremont and the Escalante.

Geological exploration had shown that they were well disposed for examination, and that they promised to give the key to a type of structure which was at best obscurely known[emphasis added]

If the structure of the mountains be as novel to the reader as it was to the writer, and if it be as strongly opposed to his preconception of the manner in which igneous mountains are constituted, he may well question the conclusions in regard to it ...  I can only beg him to suspend his judgement until the whole case shall have been presented.

It is usual for igneous rocks to ascend to the surface of the earth, there issue forth and build up mountains or hills by successive eruptions [arrow to diagram below]
Mountain of Eruption
The lava of the Henry Mountains behaved differently.  Instead of rising through all the beds of the earth’s crust, it stopped at a lower horizon, insinuated itself between two strata, and opened for itself a chamber by lifting all the superior beds.  In this chamber it congealed, forming a massive body of trap.  For this body the name “laccolite” (Greek: cistern and stone) will be used.  [hmmm ... I thought the term was “laccolith”]
[arrow to sketch above] The simplest type of Henry Mt. structure is a lenticular mass of trap above which the strata are arched [this diagram looked very familiar, where had I seen it?]
or they have made these subterranean mounds at many different levels so as to produce a structure of which [arrow to sketch above] is an ideal cross section.

Contemporaneous and subsequent denudation have left the existing phenomena:
Mt. Ellsworth
Mt. Hillers
[there was one more sheet, and it was there that the author’s identity was revealed]
If these pages fail to give a correct account of the structure of the Henry Mountains the fault is mine and I have no excuse.  G.K.G.


I was stunned!!  "G.K.G." -- that's Grove Karl Gilbert, one of the greatest 19th-century geologists of western North America.  That familiar diagram is his classic cross-section through a laccolith, from his study of the geology of the Henry Mountains.  In fact, Gilbert had camped at this very spot at the southeast base of Mt. Hillers.  Had he dropped his field notes?  No, that couldn't be.  He was last here 136 years ago.  They must have been left on the table by some ghostly visitor in the night ... 
Grove Karl Gilbert in 1894; National Academy of Sciences Archives.
I reread the yellowed sheets, paying close attention to every detail.  An hour passed unnoticed and by then the day was getting warm.  But no matter.  I loaded my pack and drove around to the south side of Mt. Hillers to hike up to the base.  I wanted to see sandstone spurs, hogbacks, revet crags and trap for myself.
Modern-day view of the south base of Hillers.
--- ✿ ✿ ✿ ✿ ✿ ✿ ✿ ---

In 1869, the great explorer and geologist John Wesley Powell was traveling down the Colorado River through today’s Utah.  He spotted an isolated cluster of peaks to the west, which he called the Unknown Mountains.  They would become the last range to be named in the Lower 48 States.
The Unknown Mountains from the air.
View from Google Earth (click on image).  Lake Powell (Colorado River) in southeast corner.
Powell thought the Unknown Mountains looked like volcanos.  This was of great interest because there was a debate raging as to whether volcanos were 1) “craters of elevation” or 2) craters built from piles of debris accumulated through repeated eruption (geology was still a young science).  Even from a distance Powell could see these mountains were domed and had dark masses of lava-like rock, suggesting “craters of elevation.”
  Mt. Hillers from the west.
Five years later, Powell was in charge of the US Geographical and Geological Survey of the Rocky Mountain Region, and the Unknown Mountains had become the Henry Mountains, named for his physicist friend, Joseph Henry.  Powell directed Grove Karl Gilbert to take an exploratory expedition into the Henrys and perhaps settle the question as to whether volcanos were craters of elevation or of debris.  But the question was never answered, for Gilbert found no volcanos.

They left York, Utah, south of Salt Lake City, on June 20, 1875.  It took 20 days to travel the 200 miles to the Henry Mountains, by mule.  Trails ranged from good to unknown.  On August 22, they established Camp 38 very close to today’s Starr Springs Campground, where I found the mysterious notes and rock.
The old Starr Ranch.  The springs have long attracted humans; there's a BLM campground there now.
Gilbert spent two weeks in the Henrys in 1875.  He found no evidence of volcanic activity, and by the end of the visit was beginning to think about alternative models.  He returned the next year and stayed for two months.  When his report was published, the Henry Mountains became the type locality for a new geologic structure -- the laccolith.  Gilbert used “lacune” in his early field books, but then chose “laccolite” as the formal name. Later he was persuaded to change to “laccolith” because “-ite” typically applies to rock types rather than structures.

Gilbert’s laccoliths were distinct from other igneous structures recognized at that time.  Unlike volcanos, molten igneous material did not reach the surface.  Nor did it solidify deep below, as did masses of granite and related rocks.  Instead, magma was intruded into rock layers near the surface.  Furthermore, the “trap” deformed the overlying strata -- a novel concept.
"Half-stereogram" of a laccolith showing deformed sedimentary strata above, from Gilbert's report.  In his early field notes, he sometimes called these bubble or tumor mountains.
The deformed sedimentary rocks on the south flank of Mt. Hillers are especially striking.  "On this side a half dozen spurs show fragments of red rock as sketched ... inferior rocks tilted almost to the vertical and interspersed with dikes.  Moreover these sandstone hogbacks seem to trend in a curve around the mountain as far as they extend.”
Field sketch of the south base of Hillers, showing prominent hogbacks (click on image to view).
"Base crags of Hillers" from Gilbert's field notes.
Base crags of Hillers from the air.  Photo courtesy Jack Share of Written in Stone.
“revet-crags” and “bold spurs of trap” (dark rock near horizon)
"inferior rocks tilted almost to the vertical"
We wandered among the revet crags and bold spurs of trap for several hours.  They were extremely photogenic but it was getting hot.  So we headed back down to the car, and drove east and north to Hanksville.  With the Henrys in constant view, and Gilbert’s words and sketches bouncing around in my head, it was hard to keep my eyes on the road.
Eastern flank of Mt. Hillers.  Photo courtesy Jack Share of Written in Stone.
But while the Henry Mountains contribute almost nothing to our direct material interests, they offer in common with the plateaus which surround them a field of surpassing interest to the student of structural geology.  The deep carving of the land which renders it so inhospitable to the traveler and the settler, is to the geologist a dissection which lays bare the very anatomy of the rocks, and the dry climate which makes the region a naked desert, soilless and almost plantless, perfects the preparation for his examination.  -- G.K.G.
From "Map of the Henry Mountains by G.K. Gilbert.  From a model in relief." (1880)
Henry Mountains in southern Utah; click on image to view. 

Sources

Gilbert, G.K.  1880.  Report on the geology of the Henry Mountains, 2nd ed.  Dept. of the Interior, US Geographical & Geological Survey of the Rocky Mountain Region, Washington DC.  full PDF here

Hunt, C.B.  1988.  Geology of the Henry Mountains, Utah, as recorded in the notebooks of G.K. Gilbert, 1975-76.  Geol. Soc. Am. Mem. 167.

Share, Jack.  2011.  The Henry Mountains Laccolithic Complex on the Colorado Plateau at Written in Stone ... seen through my lens


Saturday, April 12, 2014

Tree-measuring -- an alternative to Spring

"Man is the measure of all things ...
of things that are, how they are ...
and of things that are not, how they are not.” (Protagoras)
This tree measures 58.4 feet in height.
It’s time for April’s Tree-following post but there’s nothing to report as my cottonwood doesn't appear to have changed at all since a month ago.  So I decided to measure it.  “It is interesting and easy to determine the height of certain favorite trees” wrote Woodbridge Metcalf in Native Trees of the San Francisco Bay Region (1970, University of California Press).  I rounded up a crew and we headed into the field to determine the height of the cottonwood, using various methods.  It wasn’t as easy as Dr. Metcalf suggested, but he was right that it was interesting.
The day was cold, gray and windy, with sunny moments and occasional flurries of light snow.

1.  Simple Estimate

Mike guessed at the point on the tree 10 feet above the ground, and estimated it took 6 of these lengths to reach the top, for a total of 60 feet.  Then the cold wind drove him away.

2.  Hypsometer

We next used a yardstick as a hypsometer (instrument for measuring height).
“Measure on the ground to a distance of 25 feet from the tree.  Standing at this point, hold the ruler vertically at arms length (25 inches), with the zero point on a line from your eye to the base of the tree.  Then ‘sight’ along the ruler to the top of the tree.  Note the reading at the point where the line of sight intersects the ruler scale.  If the line of sight intersects at 20.5 inches, the tree is 20.5 feet tall.  For a taller tree, mark off a distance 50 feet from the base of the tree and double the reading on the ruler.” (Woodbridge Metcalf)

The cottonwood clearly was taller than 25 feet.  In fact we used four times the distance to get a good perspective and so had to quadruple the intercept.  My arm-length is 21 inches so I stood 84 feet from the tree.  The intercept on the yardstick was 14.5 inches, making the tree 58 feet tall (4 x 14.5).
Dave tried it with his 24-inch arm-length and came up with 62.5 feet -- big difference, maybe because it was hard to keep the yardstick vertical in the wind.

3.  Shadows

“On a sunny day the height of a tree that stands on fairly level ground can be determined by relating the length of its shadow to the shadow of a staff of known height.  The staff shadow is to the height of the staff as the tree shadow is to the height of the tree.”

When the sun came out for a bit, we applied the Shadows method.  A 4-foot staff cast a 3.25-foot shadow.  Unfortunately the tree shadow ended in a stand of shrubby willows, so we tried lying on the ground among the willows to see where the tip would land.  Two of us independently estimated the shadow to be 40 feet long.
If X is the height of the tree, then 3.25 is to 4 as 40 is to X, or 4/3.25 = X/40. 
X = 160/3.25 = 49.23.  The height of the tree is 49.2 feet.
Pesky willows to right of tree caught and distorted its shadow.
4.  Trigonometry

The engineer on the crew wanted to use trigonometry.  This involved measuring the angle from level of a line from the ground to the top of the tree with an iPhone tilt-meter app, and then finding the tangent (see table) and calculating the height.  The angle was 29º and the height was 55.4 feet.

5.  Man-Tree Comparison

Finally, I photographed a man of known height standing next to the tree.  On the photo I drew and measured lines representing the height of each.  The ratio of the heights of man and tree is the same as the ratio of the lengths of the two lines.
man-line = 1.7 cm; tree-line = 16.8 cm; man-height = 5.75 ft
tree-height = (16.8/1.7) x 5.75 ft = 56 ft
Click on image and look close to see man next to tree.

Results and Discussion

The average height was 58.4 feet, not counting the Shadows results.  The Man-Tree method was the easiest, and probably the most accurate given the conditions.
So there you have it -- tree-measuring -- something to do with your favorite tree while waiting for spring.  And if you aren't yet following a tree and would like to, visit Lucy’s Loose and Leafy Tree Following page to sign up.